
Friday, July 30, 2010
I promise...
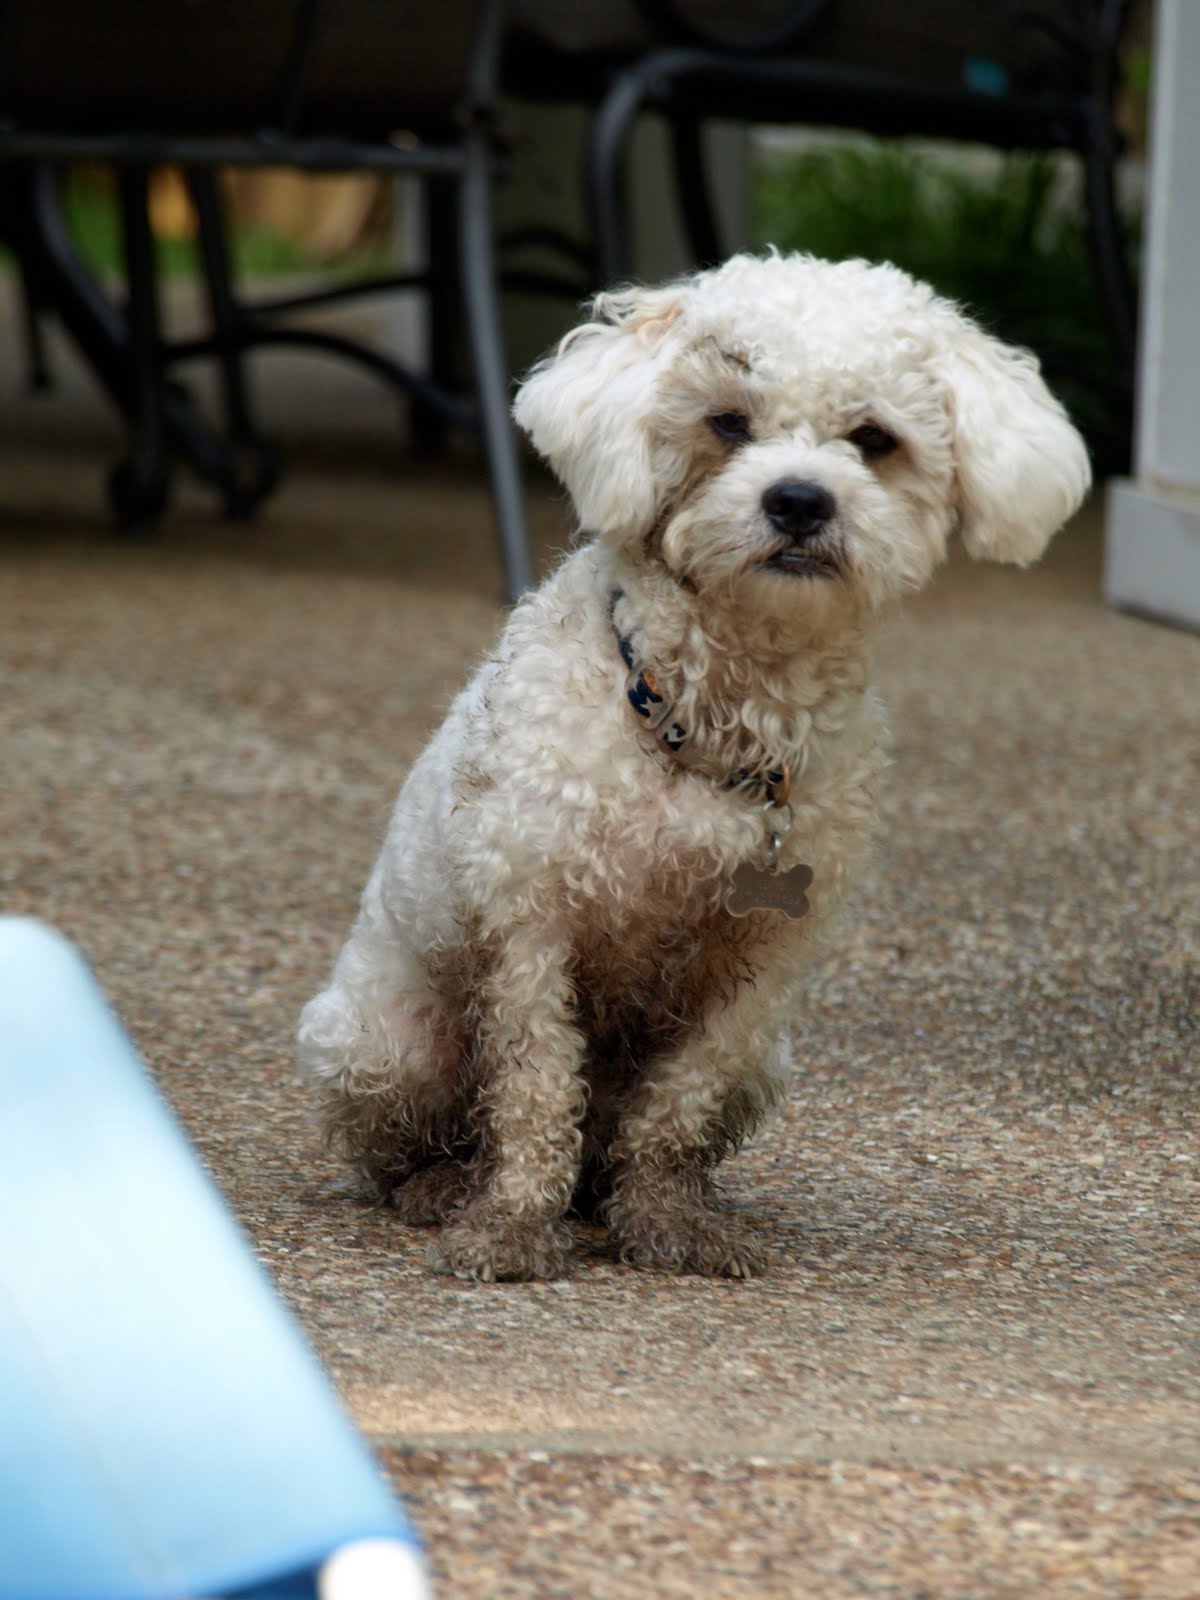
I promise tomorrow that I am coming back. Until then, here's a cute picture of my boo covered in mud.


Thursday, July 1, 2010
Bizzy
Holy rainy season, Batman!
That's right, our drought here in the DFW has been cured as of last Thursday. And so began the onslaught of T-storms...ahhhh, one of my favorite seasons here is the storm season! (Except when it strikes your nearest power line down.) Luckily, that hasn't happened to us this year!
Last year, while living with my parents, the T-storms struck down the power lines in their neighborhood. So when night fell, we busted out the candles & flashlights. I think only one flashlight actually had working batteries, and we've never really been a big candle family. Needless to say, it was dark.
So what did we do??? We played the "questions game," introduced to us by my sister-in-law, Caroline. Maybe one day Caroline could write a guest post and explain the game! It's fun, but for some reason I have no energy to teach it....Whattaya say, Caroline??
Speaking of being too tired to teach something, I have no tutorials to share of my own. However!!! I've been reading other's blogs, and slowly collecting tutorials of projects that I find to be amazing & easy! Today, I'll share the links to those. Another day, perhaps I will begin to work my way through them...


That's right, our drought here in the DFW has been cured as of last Thursday. And so began the onslaught of T-storms...ahhhh, one of my favorite seasons here is the storm season! (Except when it strikes your nearest power line down.) Luckily, that hasn't happened to us this year!
Last year, while living with my parents, the T-storms struck down the power lines in their neighborhood. So when night fell, we busted out the candles & flashlights. I think only one flashlight actually had working batteries, and we've never really been a big candle family. Needless to say, it was dark.
So what did we do??? We played the "questions game," introduced to us by my sister-in-law, Caroline. Maybe one day Caroline could write a guest post and explain the game! It's fun, but for some reason I have no energy to teach it....Whattaya say, Caroline??
Speaking of being too tired to teach something, I have no tutorials to share of my own. However!!! I've been reading other's blogs, and slowly collecting tutorials of projects that I find to be amazing & easy! Today, I'll share the links to those. Another day, perhaps I will begin to work my way through them...


Enjoy!
Saturday, June 19, 2010
Hotter'n Hell
That's just something people in Texas say when referring to the heat. It's a true statement, but I've always hated the saying (which is why I chose to immortalize it right here on my very own blog??) There are a lot of things I've never really understood about Texas, yet at the same time I am strangely devoted to it. I'm sure any fellow Texans (native or grafted-in) will find it easy to relate.
Right now, I'm sitting in our semi-air-conditioned house while Kennedy drives across town to buy 1/3 the amount of sod we need for our front yard. The reason being, that's all that will fit in my Jeep at one time.
It's very, very hot outside, but luckily all we have left to do is fertilize and throw down the sod. EASY! The hard work is over!
Also, a couple of days ago when Jaclyn was over, I "accidentally" pulled the toenail of my left pinky toe off. "I was only trying to trim it!" Anyway, now there's this exposed/raw skin that I can feel with every step of my socked-and-shoe'd foot. I have been walking around practically barefoot for the past couple of days, so I hadn't noticed the pain 'til now.
Also, if you're wondering how someone can get away with walking around practically barefoot for 2 days in the middle of the week, well, I just don't leave the house. That's how!
I'm thinking our next DIY project will be installing a grocery store in the back yard so I literally never have to leave.
You know what will be awesome? When we're completely done working on this house. But then I suppose we'll sell it and move on...
Right now, I'm sitting in our semi-air-conditioned house while Kennedy drives across town to buy 1/3 the amount of sod we need for our front yard. The reason being, that's all that will fit in my Jeep at one time.
It's very, very hot outside, but luckily all we have left to do is fertilize and throw down the sod. EASY! The hard work is over!
Also, a couple of days ago when Jaclyn was over, I "accidentally" pulled the toenail of my left pinky toe off. "I was only trying to trim it!" Anyway, now there's this exposed/raw skin that I can feel with every step of my socked-and-shoe'd foot. I have been walking around practically barefoot for the past couple of days, so I hadn't noticed the pain 'til now.
Also, if you're wondering how someone can get away with walking around practically barefoot for 2 days in the middle of the week, well, I just don't leave the house. That's how!
I'm thinking our next DIY project will be installing a grocery store in the back yard so I literally never have to leave.
You know what will be awesome? When we're completely done working on this house. But then I suppose we'll sell it and move on...
Thursday, June 17, 2010
Photo Twist
Sometimes I want to frame a photo, but then I think it's missing something. Then, a couple of years ago I stumbled upon a neat little craft to jazz up photos.
Guess what photo I decided to use? That's right, a photo of MY DOG. I just can't seem to stay away. I wonder if I'll ever love kids as much as I love my dogs? At this point, I just don't see how it's possible...
Anyway, the twist to which I am referring is making a photo 2-D. I had already made one of cute Elvis when we first got him, so I decided I needed to get Cece caught up in the shrine department.

Notice the subtle "pop-out" of the photo. Here's the photo I decided to use of Cece:

She's just so freaking cute!
I used the following materials: several copies of the photo above, a black foam sheet, scissors, craft glue.
First, I decided how many layers I wanted in the photo. I generally stick with 3 layers, because any more gets complicated and takes too long and runs the risk of looking messy. So for this photo I went with the background/Cece's head, then her muzzle, then her round button nose.
Like so:

I had printed out 3 copies of the photo, and then cut one layer from each. Later, I decided that I could get away with only destroying 2 layers and keep the 3rd as a spare copy, like so:
 Ok, and sorry but for some reason my computer thinks it's hilarious to UN ROTATE photos that I have previously rotated. So then I get side-ways photos. Loooove it.
Then I took the black foam sheet and traced the top two layers on it. Then I cut the traced areas out and glued them to the photo layers.

That traced section is actually traced onto a foam sheet that has a sticky side. Then I just had to peel the white backing off it and stick it on. But if you can't find that, then just glue it like I said before...
THEN, (and here comes the hard part,) glue all your layers together.
That's all! I am loving these easy 5-minute crafts lately. All of the results with barely any work.
Here's my finished result:

It was totally an accident, but that top spike of Cece's hair ended up hooking around the photo mat. I liked it and kept it because I thought it made the photo pop out more. Also, the frame I used is a semi-shadow-box frame from Hobby Lobby (half off!) I find that it works best if you are 2-D'ing your photos, so it doesn't get all smashed and defeat the purpose.
And here is a photo of my dog shrine/kitchen decor:

Any questions?
Guess what photo I decided to use? That's right, a photo of MY DOG. I just can't seem to stay away. I wonder if I'll ever love kids as much as I love my dogs? At this point, I just don't see how it's possible...
Anyway, the twist to which I am referring is making a photo 2-D. I had already made one of cute Elvis when we first got him, so I decided I needed to get Cece caught up in the shrine department.

Notice the subtle "pop-out" of the photo. Here's the photo I decided to use of Cece:

She's just so freaking cute!
I used the following materials: several copies of the photo above, a black foam sheet, scissors, craft glue.
First, I decided how many layers I wanted in the photo. I generally stick with 3 layers, because any more gets complicated and takes too long and runs the risk of looking messy. So for this photo I went with the background/Cece's head, then her muzzle, then her round button nose.
Like so:

I had printed out 3 copies of the photo, and then cut one layer from each. Later, I decided that I could get away with only destroying 2 layers and keep the 3rd as a spare copy, like so:

Then I took the black foam sheet and traced the top two layers on it. Then I cut the traced areas out and glued them to the photo layers.

That traced section is actually traced onto a foam sheet that has a sticky side. Then I just had to peel the white backing off it and stick it on. But if you can't find that, then just glue it like I said before...
THEN, (and here comes the hard part,) glue all your layers together.
That's all! I am loving these easy 5-minute crafts lately. All of the results with barely any work.
Here's my finished result:

It was totally an accident, but that top spike of Cece's hair ended up hooking around the photo mat. I liked it and kept it because I thought it made the photo pop out more. Also, the frame I used is a semi-shadow-box frame from Hobby Lobby (half off!) I find that it works best if you are 2-D'ing your photos, so it doesn't get all smashed and defeat the purpose.
And here is a photo of my dog shrine/kitchen decor:

Any questions?
Wednesday, June 16, 2010
Hello Yellow!
This blog is long overdue for a little sprucin' up! This feels a little more summer-y. Also, here's to hoping this will inspire me to get some other projects done.


It's been a long time since I've said "I'm bored," but it happened to me today. Actually, it kind of crept up on me in the last couple of weeks. My sleep pattern has been awry since Jennifer's Bachelorette party, which is causing my days to be filled with naps.
Note to self and others: Don't stay out 'til 3am. Just don't do it!
Anyway, bored means I just don't want to do anything. LORD KNOWS I have plenty to do around here. Instead, I'll just complain about it and not do it.
EXCEPT FOR THIS!
The following project is a little variation on the Custom Etched Bar Glasses post. This time, I took a handy little gift card to Hobby Lobby (Thanks Mel & J.T.!) and found some amazing green glass jars on clearance! The big one was $5 and the smaller one was $3. Cha-ching! Or, score?
I left Hobby Lobby with intentions of brandishing the jars with dog bones, or dog paws, or some cute dog pun. I wrestled over it all day, thinking it would "just be so cute" to etch one or all of those things on each jar. After all, I have been wanting some cute jars to display dog treats for a while now.
Then my judgement got the better of me, and I decided that dog-related decor is a slippery slope. Same with cat-related decor. I am, for now, going to keep it to a minimum by only decorating with photos of my dogs, and giving & receiving birthday cards with pictures of dogs doing hilarious things. (That might also be a slippery slope, but I'll keep you posted.)
Here's the project:
Chalkboard Jars

What you need:
- Glass or ceramic jars
- contact paper
- craft knife
- chalkboard paint
Draw some wavy rectangles on a piece of contact paper. Stick it to the jar. Make sure most of the jar is protected by contact paper if you are using Chalkboard spray paint. If you decide to go the paint-on route, then you should be good...
Here's what mine looked like after I was done with the spray paint.

Then once it was dry, I peeled off the contact paper and voila! This was a nice, easy, quick project, that semi-cured my boredom.
Because when you're bored, you want to see quick results so you can go back to sulking and watching re-runs of The Nanny, but still feel like you accomplished something today.
As far as what I'm going to write on the little chalkboards, it will be dog related. For now. But I like the versatility that the chalkboard surface offers. Maybe one day I'll use it to label a specific kind of cookie or snack. Or "KEEP OUT".
Subscribe to:
Posts (Atom)